Last week I went to Sydney for my annual sojourn to the Sydney Quilt Show, and this is the fifth time I’ve entered. I love this quilt show. Heck, I love this quilt guild! I always have the best time catching up with my besties. I feel like I belong there - it’s kind of hard to describe, but everyone there is so open and warm. It almost makes me want to move closer to Sydney. Joking - I love Canberra too much. But coming up here for the week each year is always a great holiday and a break from the everyday, plus I will never complain about a week off work!


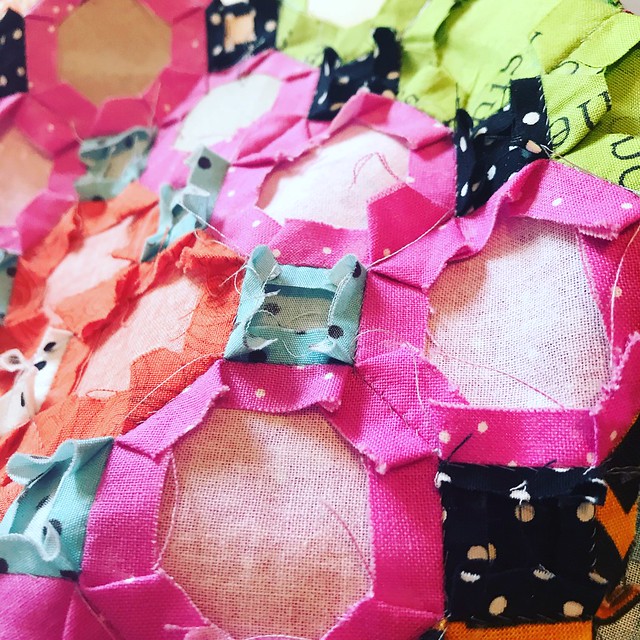
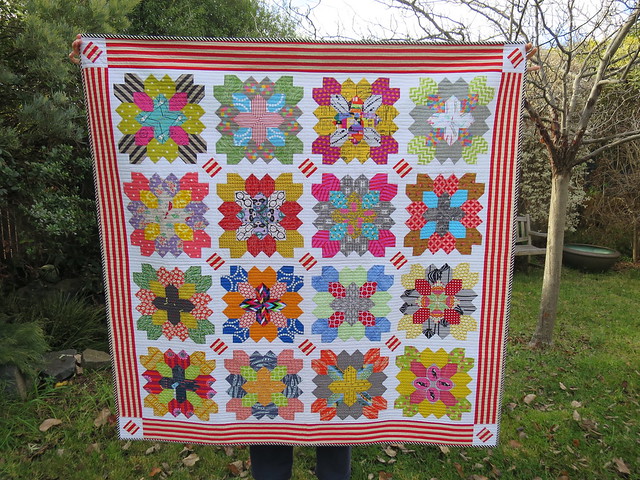
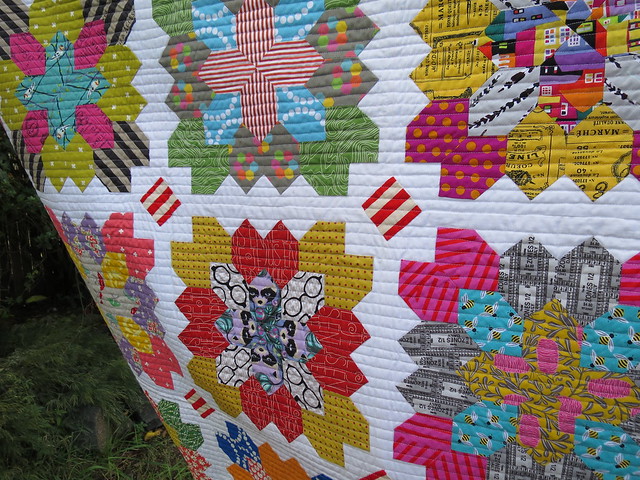
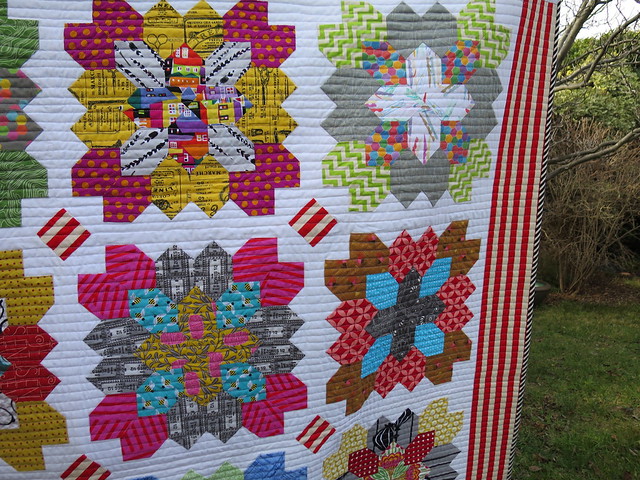
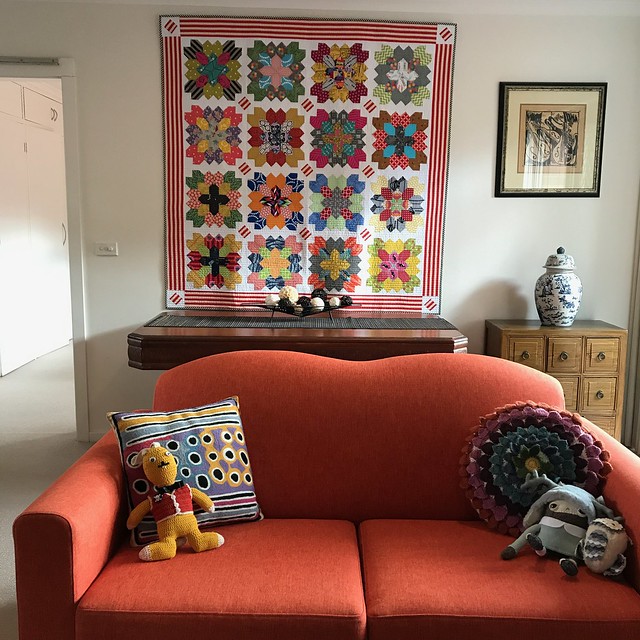
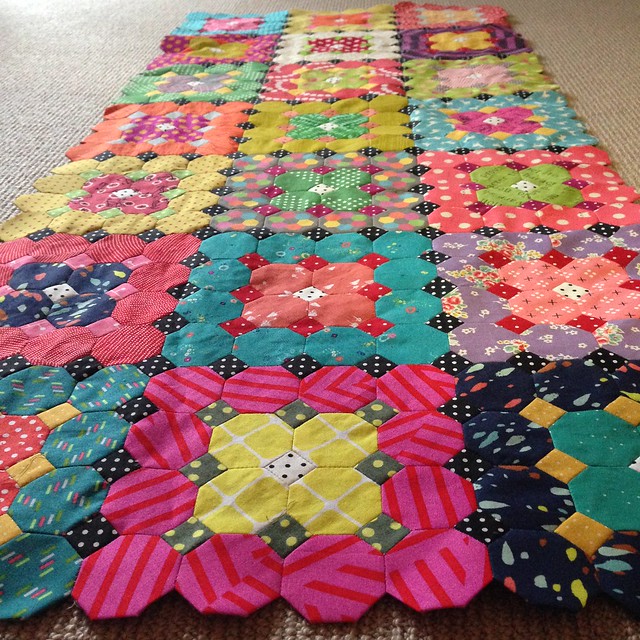
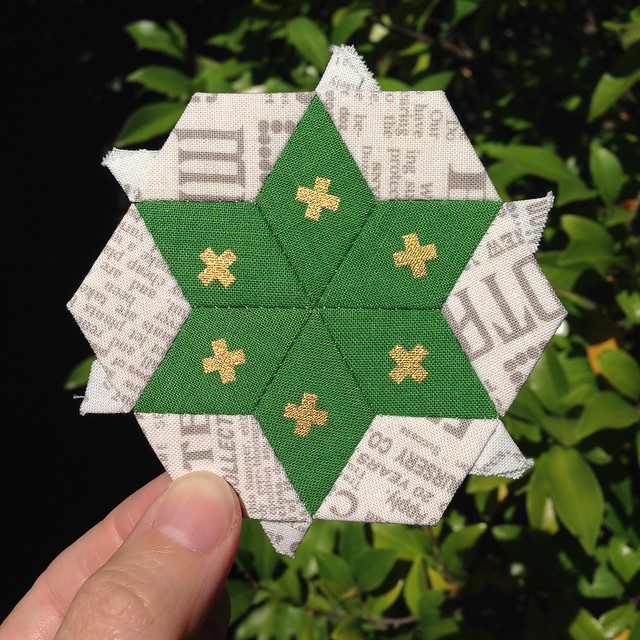
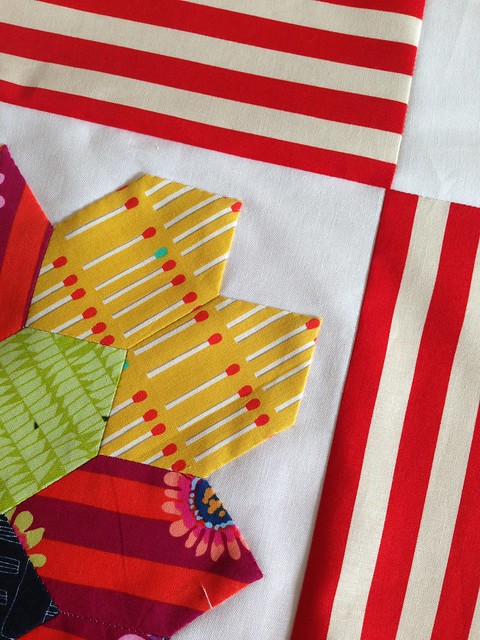
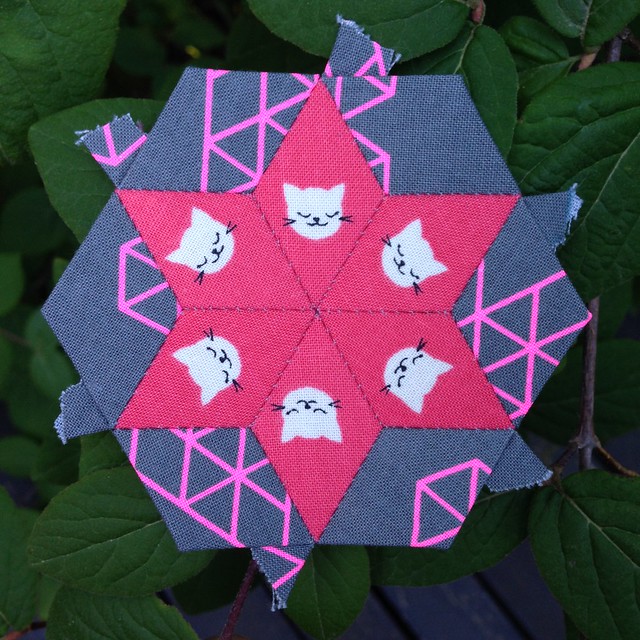
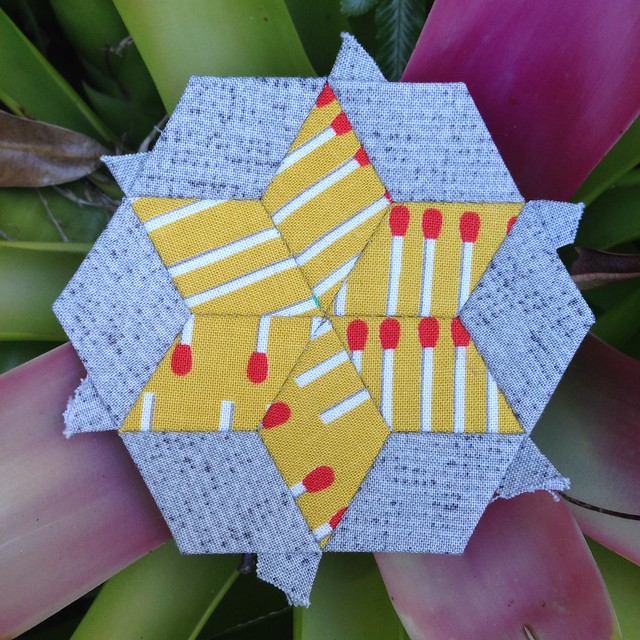
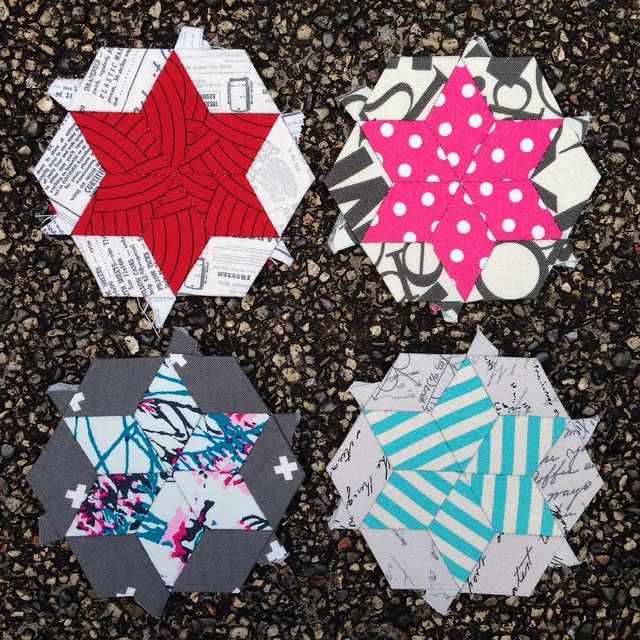
My quilt this year is called “365 Stars Around the Sun” and is made from 365 hexagon stars that I made from birthday to birthday. There are a lot of meaningful blocks - made to represent friends that passed away, moments with my family and friends, walks in nature - you name it. This all makes it an incredibly personal quilt and it has shot up the charts to be my number one. I can’t wait to hang it when it finally comes home.
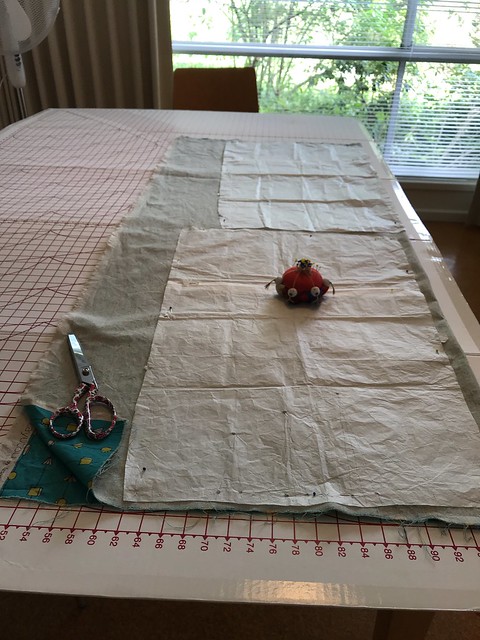
The entire top was pieced by hand using the English Paper piecing technique. I machine quilted it with vertical lines 6/16th inches apart and hand quilted the centre blocks with Perle 8 thread.
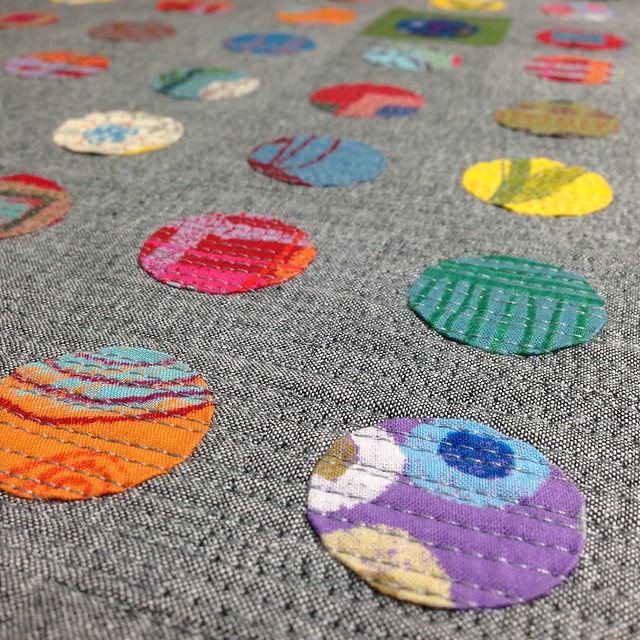
A couple of weeks before I started quilting the quilt, I was decluttering my dress fabric stash and rediscovered a cotton-linen fabric designed by Melody Miller, originally intended for a skirt. I absolutely love the fabric but it would have been a horrible skirt on me as its definitely not my colour. But it became a fabulous quilt backing!

Sadly I managed to acquire both a virus and a pretty painful condition in my hands and thumbs called DeQuervain’s Tenosynovitis just as I was about to start the quilting - so the straight lines were a struggle to do without hurting myself further.

But I did it, and I've promised myself I wouldn’t do any hand stitching for a while, but not before I performed a happy dance when it was all finished.

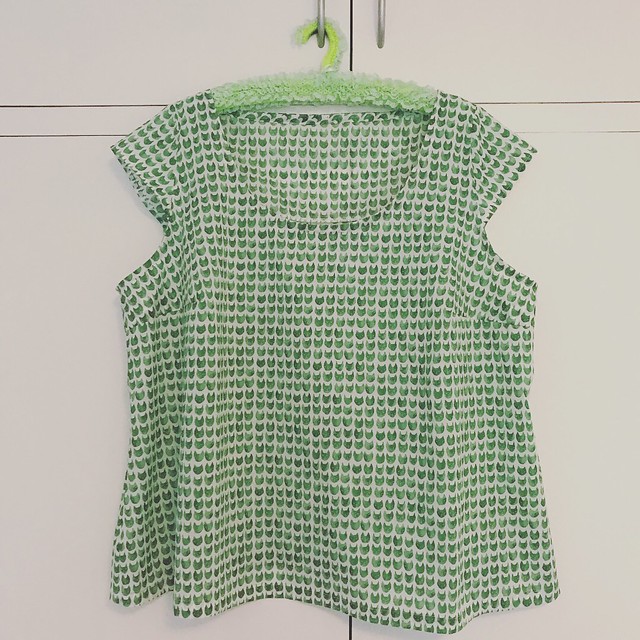
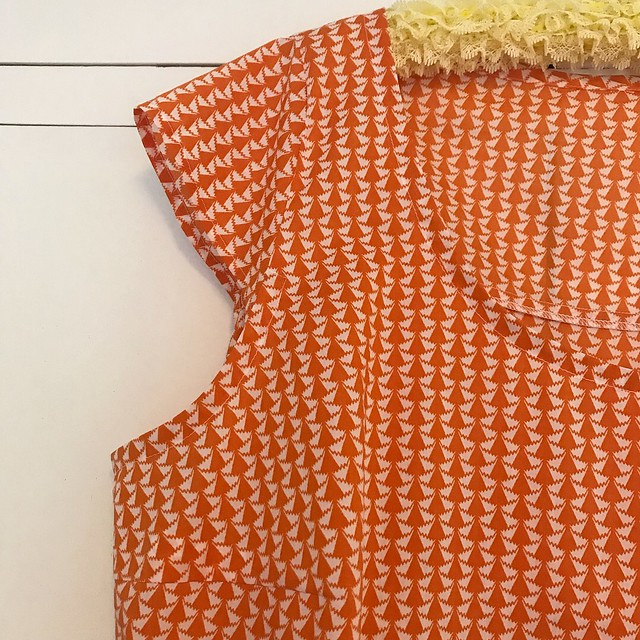
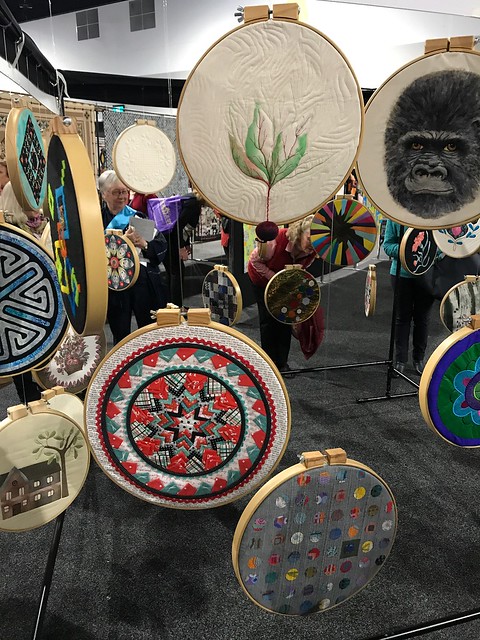
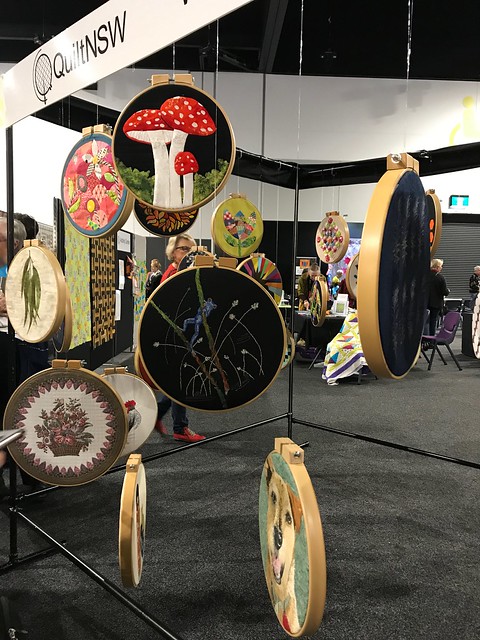
So Sydney last week was great. I spent some time volunteering at the show and also at The Applique Guild of Australia table in the guilds area. I didn't need to buy anything except pins, new ergo scissors and a cutting ruler, but in the end I bought just one piece of fabric and a heck of a lot of coffee! The quilt show was incredible - you just can't believe the amount of talent on display until you actually go to one of the Sydney shows.

On Wednesday night I attended Blak Box at Barangaroo with a friend. It was amazing.

And on Friday night I headed to the Sydney Opera House to head the Central Australian Aboriginal Women's Choir. Most amazing night of my life.

I’ll leave you with a photo from a rainy Tuesday when Rachael met me at my favourite slice of heaven, The Fabric Store in Surry Hills. What a couple of goofballs! Honestly though, she’s one of my favourite people in the world so it’s always a blast getting together. One day we will get the pink dumplings we ordered, and not the green ones, hey Rachael? ;)

Actually I’ll leave you with one more photo - of a spectacular sunset as seen from my back door a couple of weeks ago.
Back sometime soon with stories on my trip to the Blue Mountains ... for quilting of course!